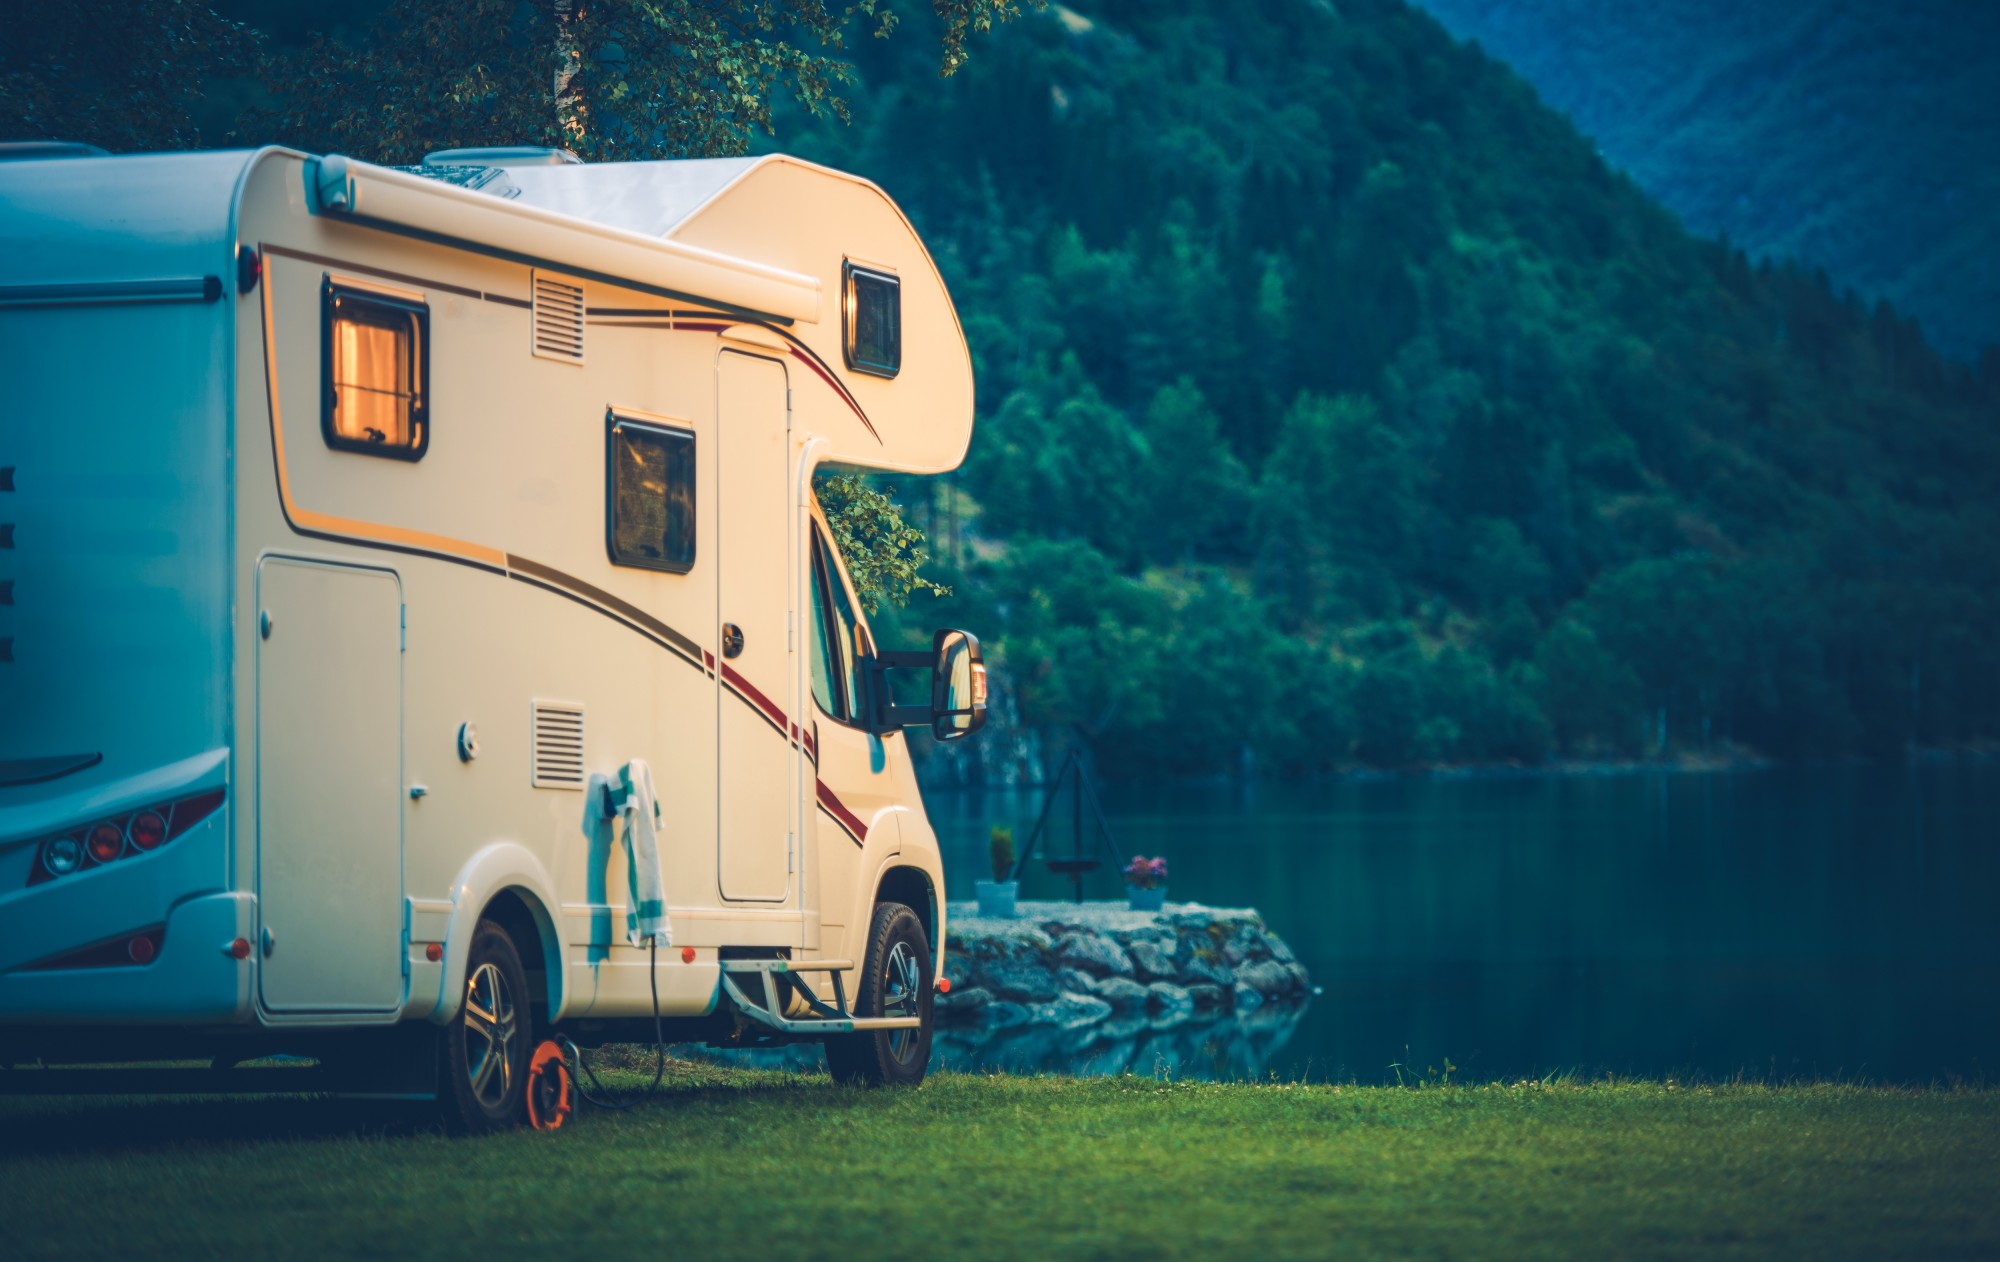
You’ve invested in a car you love, and now you want to take
pride in it by keeping it in tip-top shape. This includes payi
ng for maintenance, repairs when needed, and regular car washes.
Getting your car detailed feels great. Your car looks wonderful, smells clean, and you feel like a million dollars when you drive it.
However, car detailing can get pretty expensive. Avoid the pricey fees of having it done professionally and learn to detail your car yourself.
Below, we’ve put together ten car detailing tips that you can do at home. Use these the next time you want to have your car looking spiffy — you (and your wallet) can thank us later.
1. Best DIY Car Detailing Tip: Invest in the Right Tools
Having the right tools and materials to detail your car will make all the difference.
Sure, it may be costly to invest in things like leather repair serum and wax sprays, but you will save quite a bit on car detailing costs in the long run.
Having the right tools helps you to get the job done right in a smaller amount of time. This way, you will be more motivated to do your car detailing at home. Check out Drivek for an example of a beautiful car that’s easy to care for.
2. Use a Leather Repair Kit
If your car has leather seats, they are likely to be damaged at some point. Whether this is from stains, tears, or general grime, having dirty leather can make the rest of your car feel worn-out, too.
Using a leather repair kit to address damage swiftly will help to minimize any permanent harm to the appearance of your leather.
A leather repair kit will contain conditioners, creams, and all the things you need to clean and repair your leather as often as needed. If you do this regularly, it will not be such an overwhelming job every time you go to detail your car.
3. Brush Out the Air Vents
This may seem like a little thing, but it can make all the difference in the cleanliness of your car.
Take a small, fluffy brush — like a makeup or painting brush — and dust out the air vents. Getting rid of the dust and lint trapped here can make a huge difference in how clean your car feels.
Plus, when you turn the air on, there are fewer things blowing around. This will help to keep the rest of your car clean, as well.
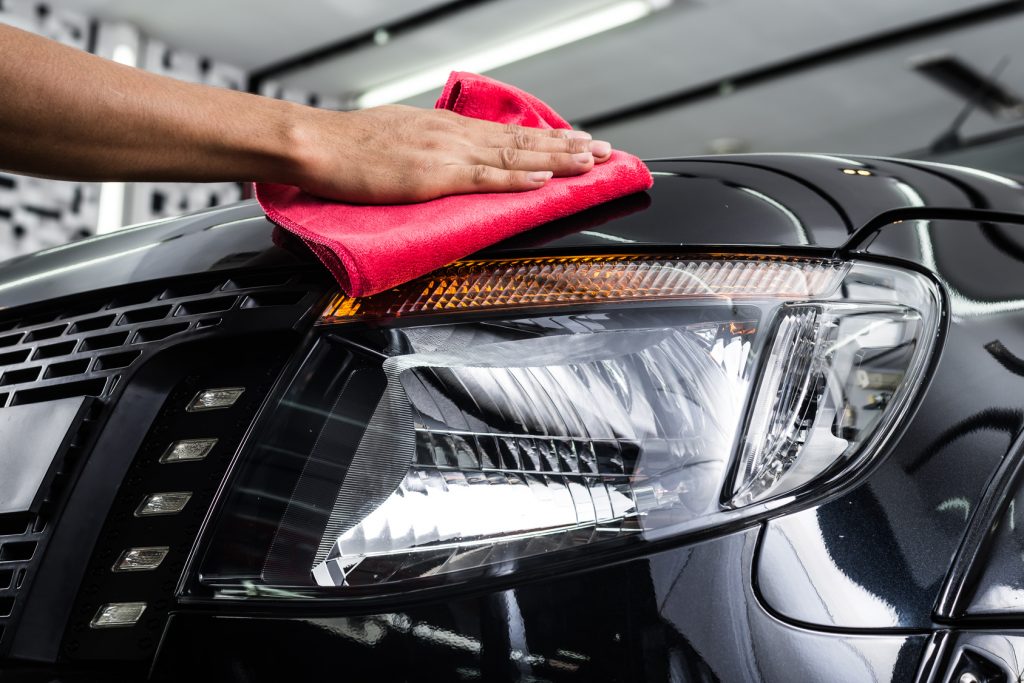
4. Polish Before Waxing
Most people assume that polishing and waxing a car are the same thing. That is not the case.
Polishing is the process of removing imperfections on the surface of the car. Polishing helps to buff out scratches and minor signs of wear, creating a nice shine in the process. Doing this makes the waxing even more effective, as it adds further glossiness and protection to the surface of your car.
Having a polisher also keeps to make this process go smoothly and efficiently.
5. Choose the Right Wax
The waxing step should take place after removing surface imperfections through polishing. Waxing will fill in those gaps and make your car glossy and shiny.
Coating your car with a layer of wax also protects its surface and keeps it looking cleaner for longer. Waxing your car is extremely good for it, but you’ll want to make sure you choose the right one.
There are many different types of wax, from carnauba to polymer to synthetic. Do a little research into your car’s paint color and the materials used to paint it. Then, choose a wax that works for you and which you will be able to apply properly.
6. Deep Clean Your Carpets
To get a proper clean of your carpets, you’ll want to remove them from your car and shake them out — and that’s just for starters.
Vacuum the interior of your car and the carpets you have removed. Then, go to town on them with a proper shampoo. Allow them to dry properly and make sure to give them a good scrub to remove dirt, stains, and grime.
There are even small carpet-cleaning machines you can purchase to make this process even easier.
7. Wipe Down the Consoles
You know to clean your carpets, leather seats, and the exterior — but don’t forget about the dashboard and center console.
This is one of the most-used elements of your car. Therefore, it can get the dirtiest. Whether small crumbs or debris, eventually the tiny cracks will be filled with dirt and your car will look dirty.
Vacuum in the cracks, wipe down any fingerprints or stains, and blow off the dust. Once your center consoles are clean, your car will start to feel brand-new.
8. Give Special Attention to Windows
Cleaning the glass of your windows is another important step in DIY car detailing. Your windows see their fair share of use — fingerprints, bugs, raindrops, and more will all leave their mark.
Using glass cleaner like Windex, take a cleaning cloth to both the exterior AND interior of your windows. Having shiny, clear glass to peer through doesn’t just look better — it’s safer, too.
Don’t forget the top edges of your window. This is the part that is tucked into your car when your window is rolled up. Make sure to clean it first, then roll your window back up and clean the rest.
9. Focus on the Wheels
Another seemingly unimportant task that makes a huge visual difference is the wheels.
Wheels begin to look dirty and dingy after normal use. Brake dust, dirt, and off-colored water all begin to build up on your rims, making your car look much dirtier than it is.
Luckily, this is a pretty simple fix. Just wash your wheels — cracks and all — then cover the tires with a nice polish finish. Keeping your wheels looking shiny will make the rest of your car feel brand-new, too.
10. Repair Chips and Damage
If your car shows minor signs of wear, like chips in the paint, scratches, or more, make an effort to repair those.
Filling in the dents and getting rid of those small imperfections will make a big impact overall on the appearance of your car. You may also want to consider removing any stickers or magnets you’ve placed on your car, as they will detract from the impressive appearance, too.
Browse our blog for more tips on the proper care and keeping of your car, from maintenance to washes and more.