 Checking and changing your engine coolant should be a part of the regular maintenance routine for your car. It’s usually recommended to do this every other year. But your manual will tell you exactly how often it needs to be flushed. If you don’t have a copy of your manual you might be able to find one here.
If you haven’t changed your coolant for a while, here’s how to do it in three simple steps.
What is Engine Coolant?
The coolant system is filled with a special fluid that helps lubricate and cool your engine. Sometimes called antifreeze, automobile coolants are made from a number of different substances. Your car manual should tell you which is recommended for your vehicle.
This fluid is pumped around specially designed chambers in the engine where it helps regulate the operating temperature. The coolant returns to the radiator, where it is cooled by the movement of air, then circulates back into the system.
Engine coolant is toxic and smells very sweet. Don’t leave it unattended around children or animals, as they may drink it which is potentially fatal. Now that we’ve covered what engine coolant is, here’s how to change it!
1. Check Your Engine Coolant
When you open the hood of your car, you should see a plastic reservoir tank that has a min/max gauge on the outside. Get a glass container, and take some of the coolant out with a syringe or ladle.
The fluid should be clear, if you see any sign of rust or dirt in the coolant then it is definitely time to change it – and a possible indicator that there is a further problem with your coolant system.
2. Draining the System
To replace engine coolant, you first need to drain the old coolant out. You need to start with a cold engine, with the parking brake on and the car in gear. Raise the front of the vehicle with a jack, so that you are able to get underneath it.
Place a drain pan under the car – If you use a clean drain pan when changing your coolant, you will be able to take it a store which offers recycling services. Locate the drain valve on the radiator and open it, the coolant should empty into the drain pan. Make sure that the header tank is also drained.
At this point, you could add a flush product, which will help clear out any deposits that may be clogging up your system. Review the manufacturer’s instructions as to how to correctly carry out the procedure. Look out for signs of coolant leaks as you work.
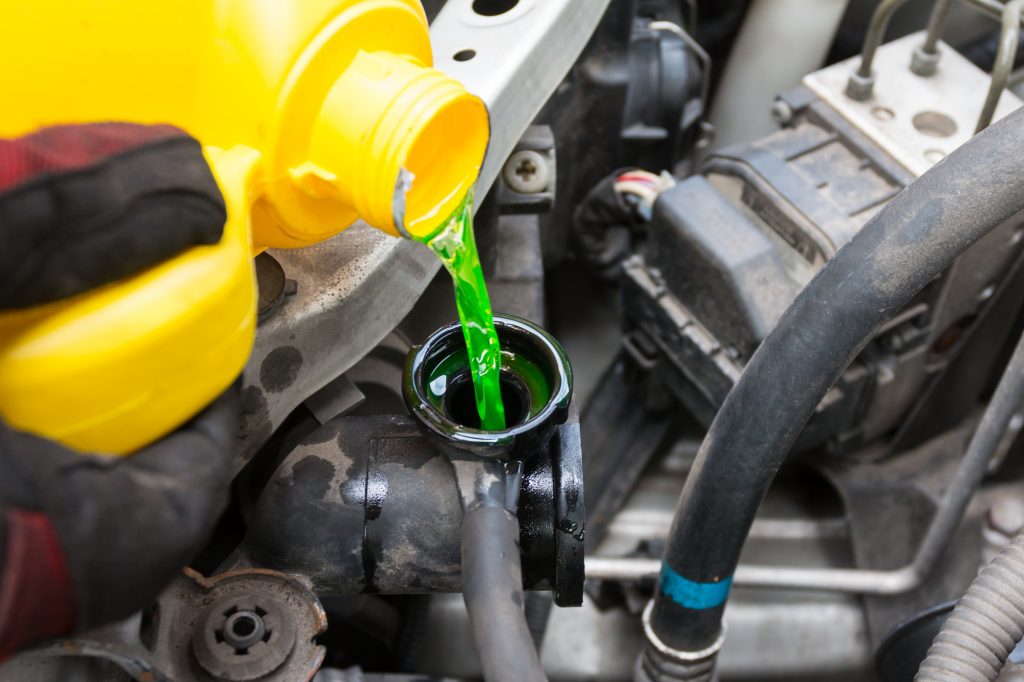
3. Change Coolant
Once the system is completely empty, it’s time to add the new coolant. Make sure that the radiator drain valve has been closed and tightened and that the header tank is in place. Add the new coolant, until the level is between min and max on the header tank.
It’s worth checking where you park your car for a few days after you change your engine coolant to make sure that there are no leaks due to loose or damaged radiator hoses. Congratulations, you just saved yourself a garage repair bill!