Bought a brand new car?
You’ll want to take good care of it! Many of the best-selling cars cost more than $30,000, meaning you should do everything you can to keep your purchase in tip-top shape.
Car polishing is one of the most important maintenance steps to follow.
Don’t fret if you’ve never done it before. We’ve got 7 pro tips below so you can learn how to make a car shine like new:
1. Preparation Steps
First, schedule your car wash, polishing, and waxing on a shady day without rain. Direct sunlight can cause soap buds to burn into the car’s paint. Sunlight can also cause irregularities with the polishing procedure.
You might want to cover things like plastic parts and side mirrors. This ensures they don’t accidentally get any polish solution or wax rubbed onto them.
Once you’re ready to begin, it’s time to wash and dry your car.
2. Washing and Drying
Yes, you can’t polish your car without washing it first. It’s important to get rid of all the dirt and debris on the surface of your car.
Don’t use any generic soap or car shampoo. Use automotive soap since these products don’t contain harmful chemicals that could ruin the paint. If you don’t know which products to get, visit this website to check out some great options.
Some people don’t stop with a quick rinse. You can steam-clean your car to get rid of hard-to-remove dirt and debris, especially those that stick to the surface and won’t come off even with soap and water.
Once done, take the time to hand-dry your car. Get soft, microfiber cloth to evenly dry your vehicle’s surface.
Wait, we’re not done yet!
Run your fingertips over the car. If you still feel some contaminants, you’ll need to apply a clay bar to get rid of them. Doing this removes haze and all sorts of minor imperfections.
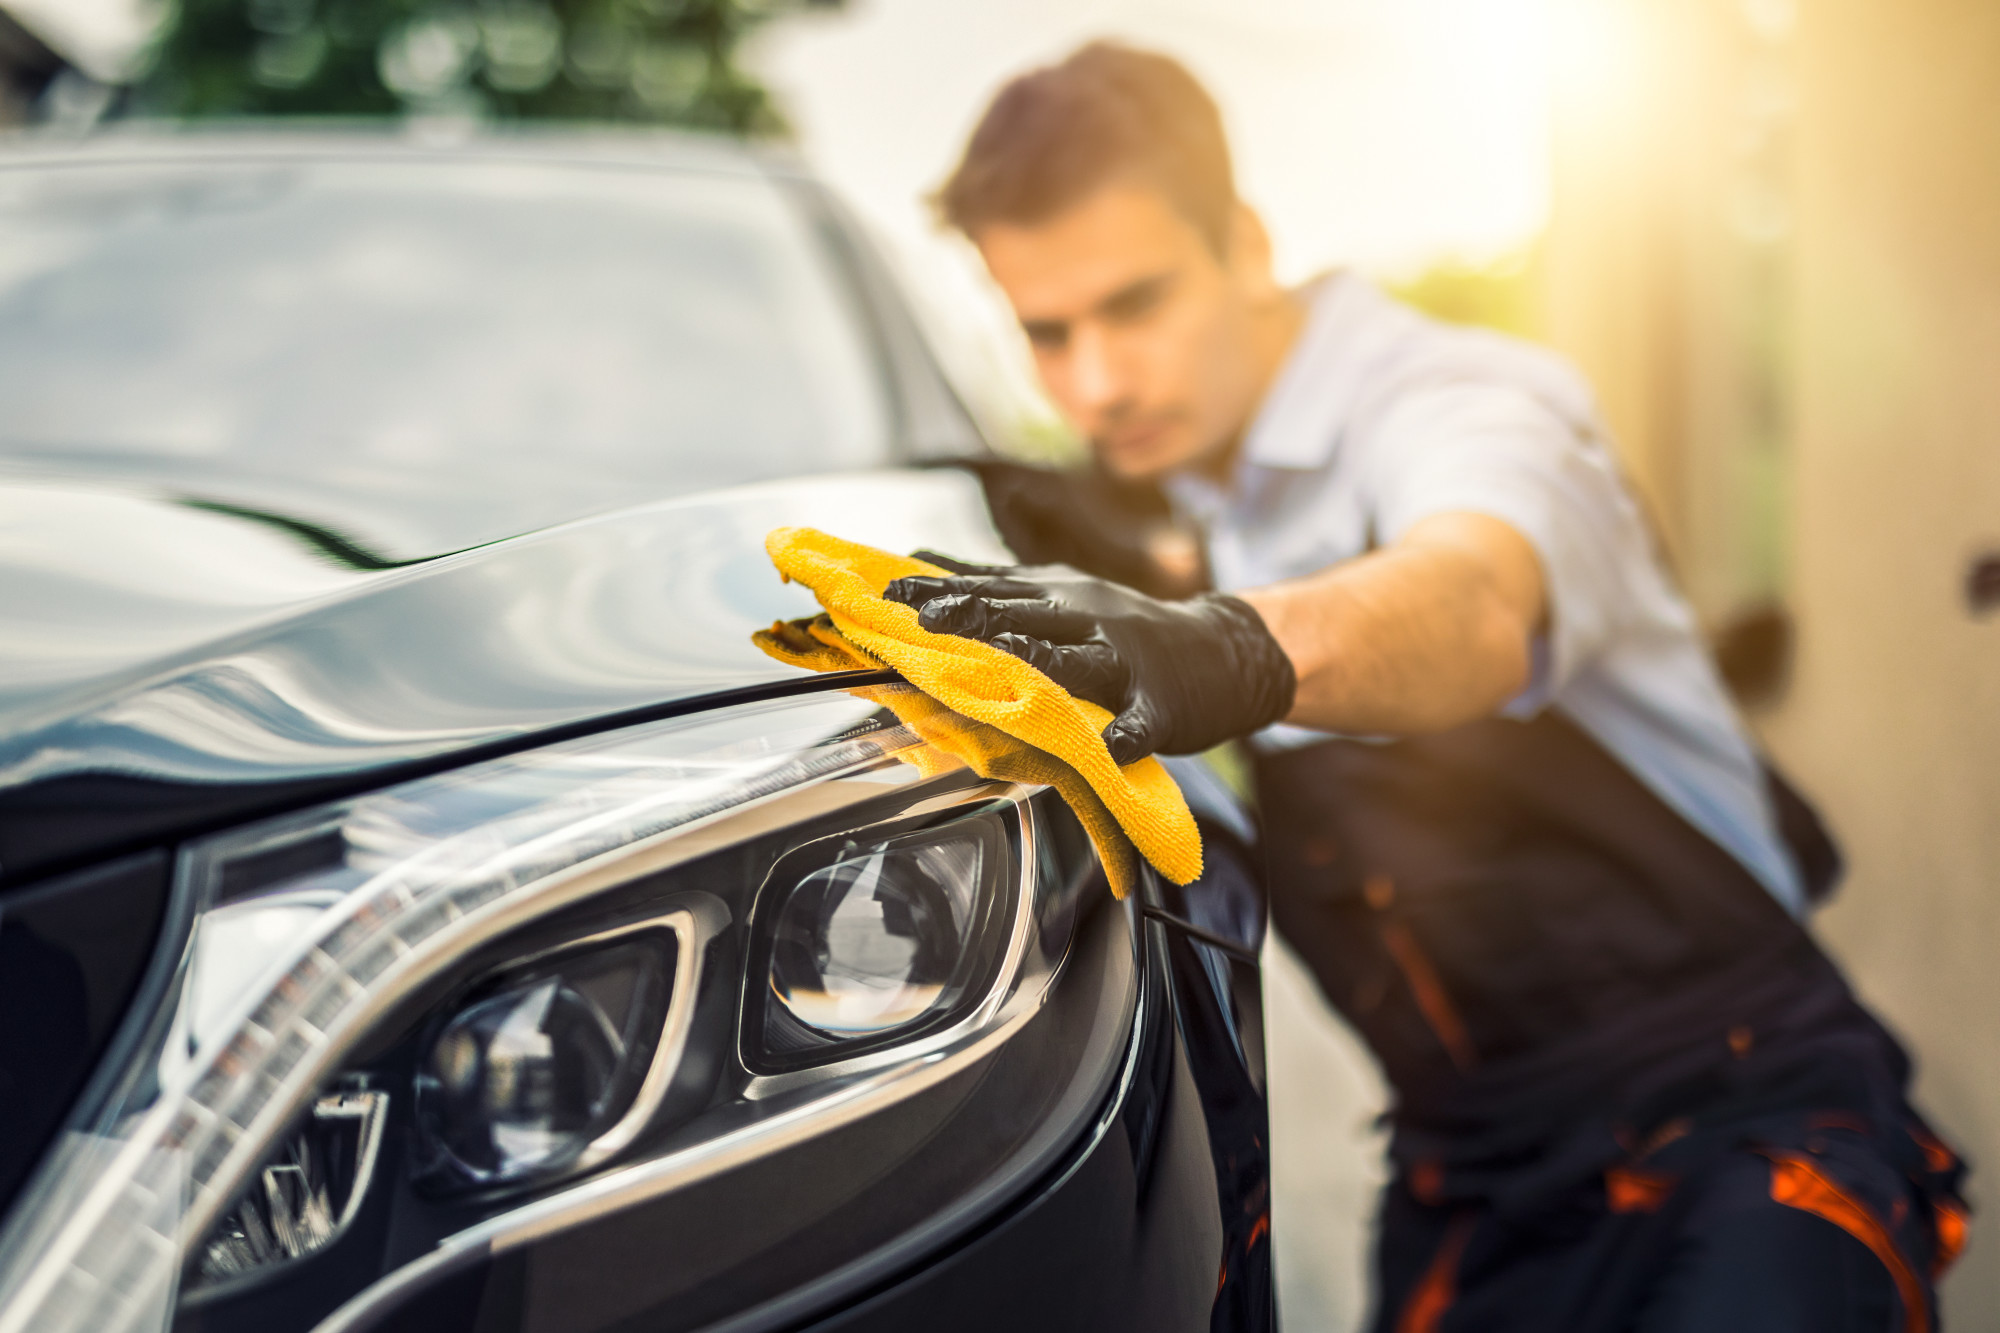
3. Initial Polish
Done washing and drying? Now it’s time to apply the polishing solution. Polishing your car is as simple as applying a bit of polish to a microfiber towel and then rubbing it across the surface of your vehicle.
Make sure you apply polish on every inch of the vehicle. Missing a spot could lead to noticeable dull spots. Also, make sure you use a slightly damp cloth to avoid damaging your car while applying polish.
Pop-culture dictates people need to apply polish in circular motions but it’s not needed. You can apply the polish in any way you want. You can rub up and down, left to right, or in circles.
The important details to remember is to apply polish evenly and to get every inch covered.
Before moving to the next step, make it a point to read the instructions for the polish you have. Some products require you to leave the polish on the car for a bit, allowing it to cure, before you can start buffing.
4. Manual Buffing
Applying the polish is only the first part. The second part of polishing a car involves buffing.
Get a dry microfiber and begin rubbing the polished areas. Fold the cloth and use clean areas as often as you can. You’ll go through a few microfiber towels before you finish so don’t feel shocked when you have half a bucket of dirty towels.
Keep buffing until the surface shines. Don’t go overboard — stop when you have a thin layer left. You know you’re done when you rub your fingers on the vehicle and they glide across with no resistance.
5. Machine-Polishing
If you have a polishing machine, you can finish the job much faster. These power tools apply the polish and buff the surface. However, they’re quite overwhelming for some people so exercise caution and work slowly.
As with the manual process, get a damp applicator pad and apply some of the polish. Work the polish nice and slowly across your vehicle. You’ll then need to switch to a buffing pad.
Don’t end here. If you have time to spare, get a microfiber towel and do a quick wipe down. This can help even out the polishing work and get rid of any residue excess polish.
6. Wax for Extra Protection
There’s one step left: waxing. Waxing provides one more protective layer, ensuring dirt and debris don’t ruin the polished surface. It can also help make your car shine even more.
You’ll need to follow the same steps as polishing: get a microfiber towel to apply wax and then let it sit for a few minutes. Once ready, get a separate microfiber towel and wipe down the car, buffing the surface and removing excess wax.
Don’t worry, you don’t have to apply wax all the time. You should apply wax at least four times a year, at the beginning of each season. This ensures your car stays shiny and pretty throughout the year.
7. Basic Car Polishing Do’s and Don’ts
Always make it a point to clean your car before applying polish and wax. Get rid of all the dirt and debris. You could cause further damage to your vehicle if you apply polish without cleaning first.
Check manufacturer guidelines for your polish solution and wax. They’re not all the same so make sure you read for specific conditions. Some require curing time, for example.
If you ever have doubts, ask a professional for help.
Are there things you shouldn’t do? First off, don’t apply wax before washing and polishing. Wax is a sealant and you might seal dirt to the surface of your vehicle.
Don’t wax or polish too much. You could damage the paint by doing so.
Don’t use any rag or cleaning solution. Use specialty products. These have the right firmness, chemical composition, and more to ensure you can polish the car without harming the car paint or your health.
Learn How to Make Your Car Shine Now!
Car polishing doesn’t have to be difficult. Make it quick and easy with these 7 helpful tips. Feel free to go back to this guide every time you’re about to polish your car.
But why stop here when we have more content like this? We offer a bunch of other guides so check them out now for more great tips and tricks!