Do you love muscle cars? If so, you’re not alone.
In fact, muscle cars are more popular now than ever before. After all, there’s nothing better than the roar of a classic engine and the sexy lines of an old school body.
If you’ve ever thought about restoring muscle cars, there’s never been a better time to get started. Fortunately, you’ve come to the right place for restoration tips.
This article takes a look at the basics of restoring classic cars from the junk yard to their original awesomeness. Keep reading to get the inside scoop on the entire restoration process.
Making a Restoration Budget
The first in restoring the classic muscle car of your dreams is to determine how much money you have to work with. After all, you’ll have to buy a car and the tools needed to complete the job.
Keep in mind that this could end up being a fairly expensive process, especially if you’re starting from scratch with minimum resources.
Take a look at your finances and see where you can make some adjustments. The key is to budget more than you plan to need so you’ll have some wiggle room if costs rise beyond your original estimates.
Creating Your Plan
Planning the restoration is one of the funniest parts of the process. At this stage, the sky’s the limit. Just be sure to keep your budget in mind as you decide why type of class muscle cars you might want to raise from the grave.
The key is to be as specific as possible so that you’ll know exactly what to expect every step along the way. Planning your project is a way to avoid a lot of surprises, thus minimizing budget overruns.
Finding the Perfect Muscle Car
Now that you have your plan down on paper, it’s time to start shopping for muscle cars. Do you already have a specific model in mind? If so, the best strategy is to start making calls to a few junk yards in the area to see what they have in stock.
It’s also important to keep in mind that it will be easier to find parts for certain cars, and much more challenging to locate good parts for others. This could have a major impact on your budget, so you might want to choose a model with plenty of available parts so that you can keep costs to a minimum.
You’d also be wise to look for a car with as little rust as possible. After all, the less you have to replace, the less time and money you’ll need to invest once you begin the actual restoration process.
The Right Tools for the Job
Let’s face it, restoring a classic car to its original glory isn’t for the faint of heart. And you won’t be able to complete the job with just a hammer and a few screwdrivers. In fact, you’re going to need some serious tools for specific tasks.
This could require a serious financial investment, especially if you’re starting from scratch. Just keep in mind that the right tools will make all the difference.
Collecting the Right Resources
It’s important to understand the process of restoring a muscle car from the junk yard requires more than simply the right tools, you’ll also need to collect specific resources to serve as a guide every step along the way. This includes buying a Haynes manual, or something similar, that can provide most of the information you’ll need, such as torque setting, as well as how to strip down and service parts.
Document the Process
Make no mistake, the restoration process will be incredibly confusing. There will be parts and tools scattered everywhere. Your workspace will be a mess. That’s why it’s critical to document everything you do. Take tons of photographs so that you can retrace your steps when it’s time to start reassembling the car.
Stripping the Car
Once you’ve gathered everything you need for the project, it’s time to start stripping the junk car so that you can rebuild it from the ground up.
First, take out the interior and store everything somewhere clean and safe. Don’t throw anything away just yet until you understand exactly what you need and don’t need.
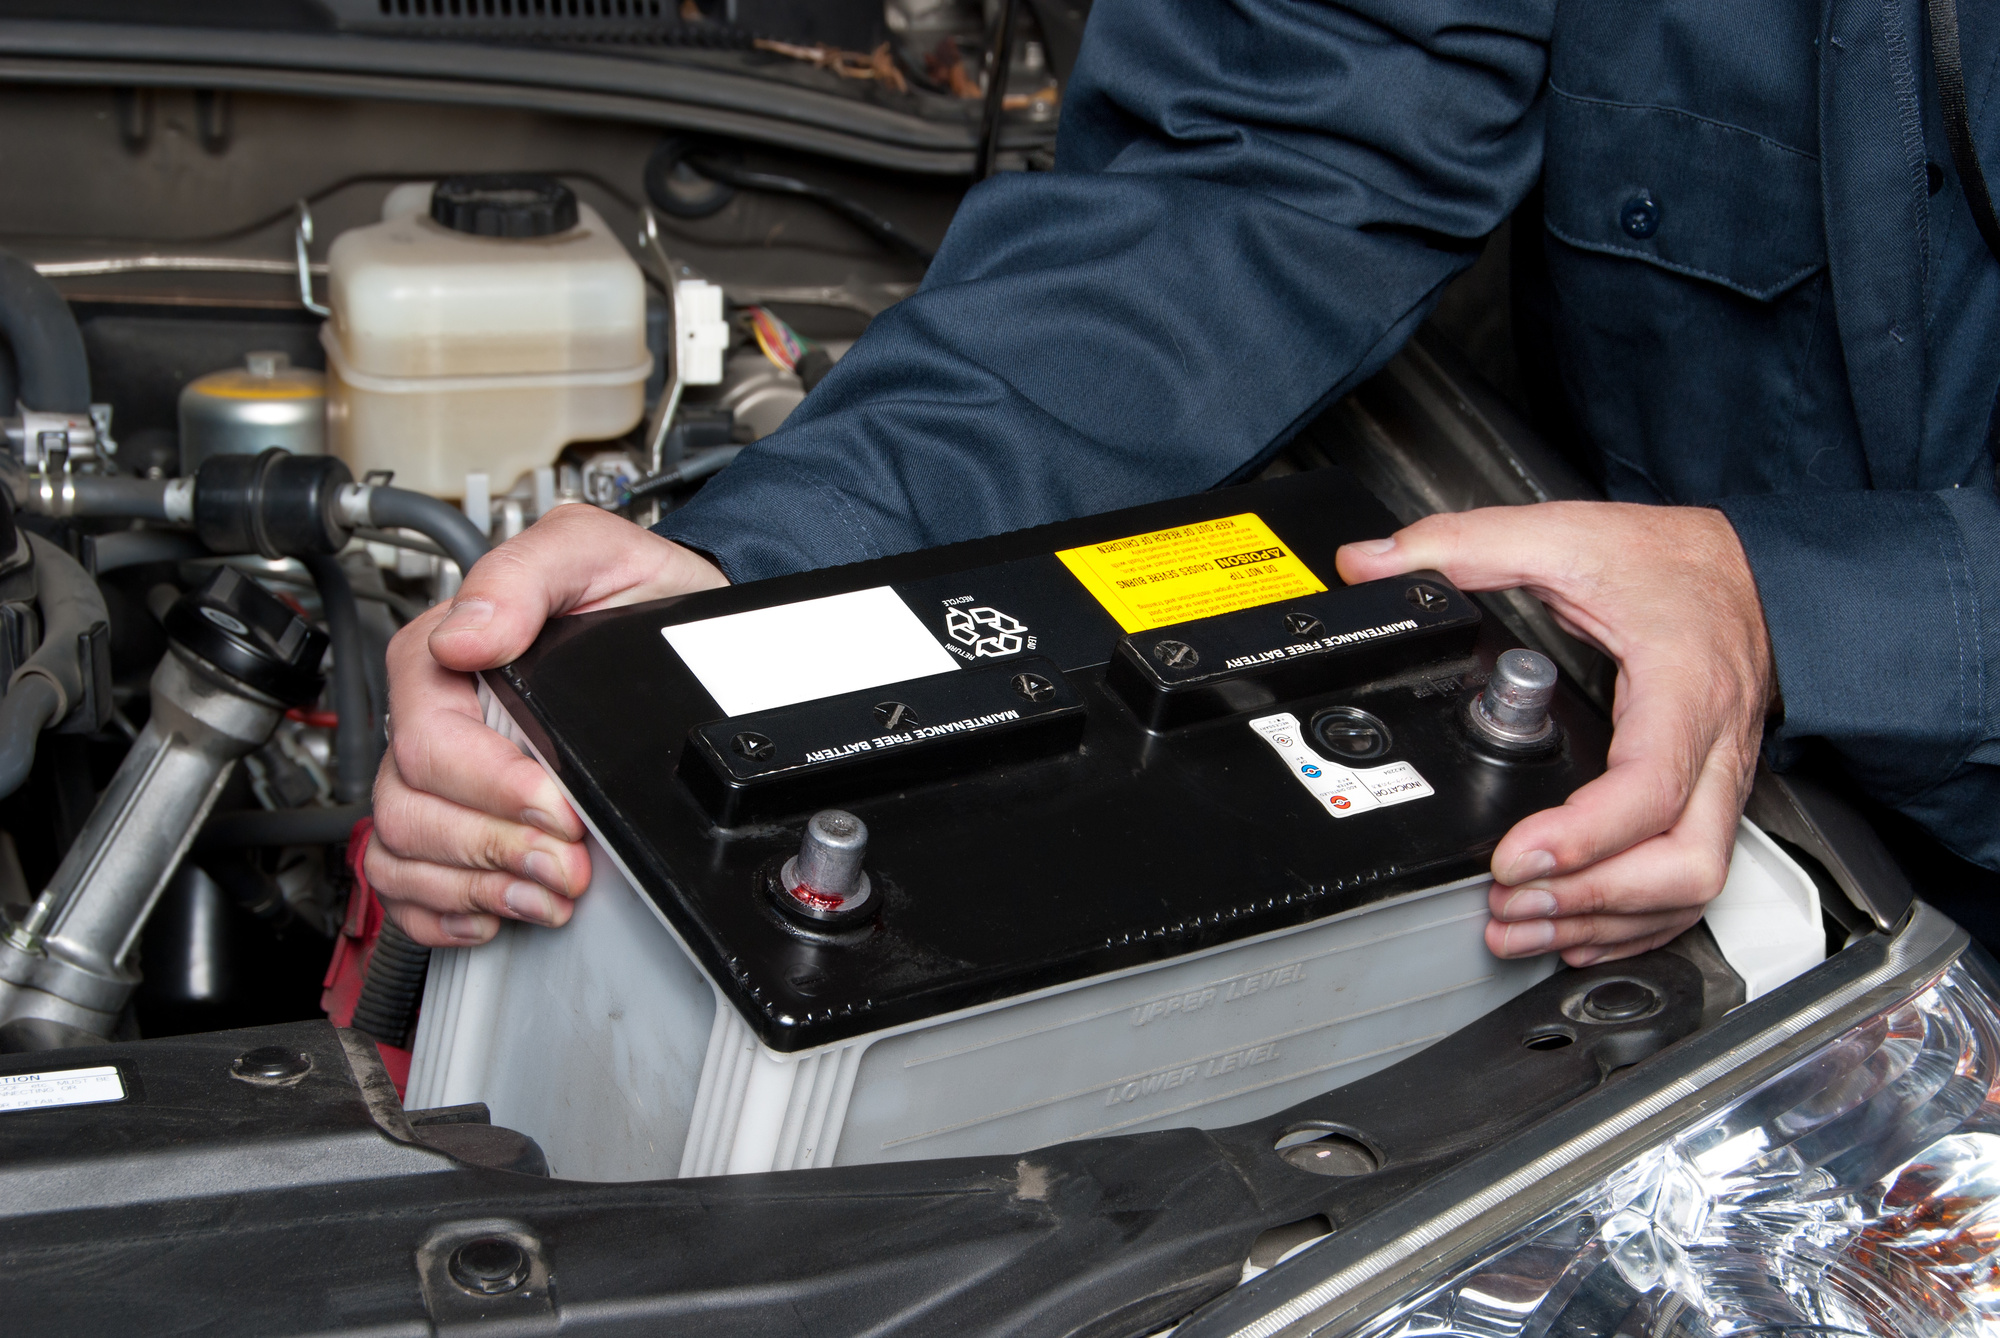
Next, remove the engine and gearbox. Drain all the fluids so that you won’t make a huge mess, and be sure to label all the wire so that you can avoid a ton of confusion down the line.
Remove the bumpers and wings, etc, being extremely careful to not break any specialist clips that could be challenging to replace.
Now remove your window glass and pull the wiring out.
Next, you’re ready to place the car on a rotisserie, jack it up, and remove the steering rack and brakes. Now you’re ready to send any salvageable parts off to the powder coaters.
Bodywork
Strip the paint, then fix any rust or dents that you discover. You’ll need to deal with the underneath of the car and arches using U-Pol Raptor or a similar product.
Use filler to repair dents, then cover with primer before sanding and painting the body.
Keep in mind the bodywork stage of the restoration process could take weeks to complete.
The Engine
The engine will likely need plenty of new parts. If your budget permits, replace as much as possible so that it will run like new once it’s completely rebuilt. Now mount the engine and do all the engine wiring.
Read more now about cool cars to restore.
The Rebuild Process
You’re going to need plenty of patience for this stage of the job. After all, you’re going to have to install the brake system, fuel system, suspension, interior wiring, cooling system, replace the engine and gearbox, refit the glass, and install new upholstery.
Finishing Touches
The finishing touches include touching up the paint, fine-tuning the engine, and making sure you haven’t forgotten anything. Now it’s time to take it for a test drive and get it ready to show off to the world.
A Complete Guide to Restoring Muscle Cars From the Junk Yard to Showroom Glory
Rebuilding a car isn’t easy. Fortunately, this guide to restoring muscle cars will help make this project one of the most satisfying experiences of your life.
Keep scrolling to discover more awesome automotive tips and advice on our blog.