Tired of the brand decals you got on your car when you bought it? Thinking of replacing them with a customized one that’s more your style?
If you want to know how to remove car decals the right way, you’ve gone to the right place.
Car decals take a few minutes to apply. But taking them off will need a lot of patience and gentle hands from your part.
Don’t worry, we’re going to walk you through the process. Below are the simple steps to take off car decals without bringing forth any damage to your paint job:
1. Clean the Surface
You might think to skip this step altogether but don’t. According to this report, most cars stay parked 95% of the time. That doesn’t mean they don’t gather dust and dirt.
This first step is a given to anything you do to your car and its aesthetic. Before anything else, make sure that you clean the car. Make sure the decal and the area around it are free from dirt, dust, and grime.
You can clean it with something as simple as soap and water. Wipe it off with a cleaning cloth. Don’t put away your cleaning cloth and buckets of water yet because there’s more cleaning to do later.
Don’t worry too much about letting it dry. The next step should take care of that soon enough.
2. How to Remove Car Decals? Use Heat
The next step is to get it warmed up. Heat will weaken the adhesiveness of the glue. This will give you an easier time to peel the decal off.
Get a hair dryer and plug it in. Use the hot setting and hold it a few inches above the sticker for a while. Keep the hair dryer targeted on the center for some seconds before you move it around.
Move it at around at a gradual pace so you can make sure that the decal is being heated up well. Don’t place the end of the hair dryer on the surface of your truck, bug, or jeep decals.
If you don’t have a hair dryer, you can also use a heat gun. Still, we recommend a hair dryer since it’s not as powerful and hot as the heat gun. A heat gun can damage the paint job.
This step to removing decals from car paint shouldn’t take too long. The last part you should heat up are the edges of the decal. It’ll get you ready for the next step.
3. Scrape with Care
The key to removing decals from a car is patience and care. For this step, get a plastic card. Use that card to scrape up the glue under the sticker.
How do you remove decals from your car while you keep the paint? Be gentle and do it an angle. You can also use your fingertips or fingernails to peel.
We told you before that heat will reduce the stickiness of the glue. If your decal starts getting harder to pull off, you can use the blow dryer again to heat it up before you start peeling again. Repeat the steps as long as necessary.
If the decal is on a window, you can use a razor blade instead of a plastic card. Do take note that you want to still use your razor blade at an angle to prevent any scratches on the glass. Use the same procedure: heat, scrape, repeat.
This is no doubt the step that will take up most of your time and energy. Still, there’s nothing more satisfying than a clean peel. And also your car that’s free of political, advertising, or old decals.
4. Get Adhesive Removers
After your tedious but satisfying peeling session, there’s bound to be some glue left on your paint. Now, look for some glue or adhesive remover. You’re also going to want a clean microfiber cloth to dab it on.
Dab a bit of the adhesive remover on your microfiber cloth and rub it on the remaining residue from your decal. You have one minute to let it absorb. Get yourself a glass of water in the meantime.
Get some of that soapy water and clean it off. If there’s still some residue left, put adhesive remover again. Rub, wait, and clean until all the glue residue is gone.
If you don’t have glue removal products, you can also use tree sap remover. If you’ve been removing the decal from your windows, you can use the razor blade to scrape sticky residue away. Always be gentle with your scraping.
5. Clean Again
For this last step, pull your washing materials back in because all that’s left to do is to clean it again. Some dirt might have stuck onto the surface while you were rubbing away. Here’s your chance to clean them off.
Give it one more wash. Then, wipe it dry with clean microfiber cloth. And for the last step, wax the area.
The wax will protect the now exposed area. Other than that, the wax will ensure proper removal of the decal and the adhesive. We’re not telling you to do something like a car detail, but it should look like it.
6. How to Remove 3D Car Decals
The thing about car decals is they come in all shapes and sizes. Some car decals are even designed to match customized license plates. The usual wash, scrape, rub technique might not work so well with these decals.
For 3D car decals with foam, you want to get a fishing line. Hold two points of the line with your hands but leave only enough space for your decal.
Begin at one end or edge. Use a sawing motion to remove the decal. If you have any foam residue left, get a solvent or an eraser wheel.
After that, you follow the same steps to clean off any remaining adhesive. Wash it after with soap and water. Always remember to wax the surface to protect it from any damage.
Cleaner Car, Sleeker Car
That’s our quick guide on how to remove car decals without damaging the paint. We hope it helped. Now, your car is ready to get a new decal.
We don’t recommend applying a decal over another. It will be more difficult to clean in the future and it doesn’t look good. If you pay someone to take it off, it’ll cost you more since it’s more work.
You want to keep your car safe from harsh chemicals that can damage your paint, too. If you don’t, you’re only going to spend more money on a new paint job. This solution is the cheapest and best way to clean off your decals, guaranteed.
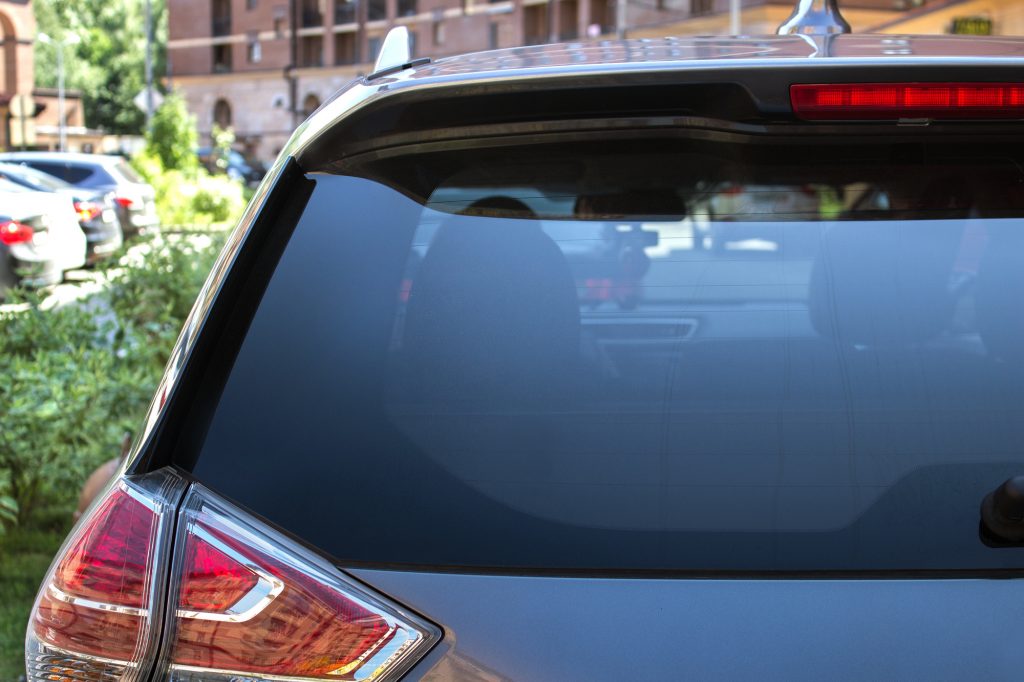
Are you looking to get your windows tinted? You might have seen some DIY processes online, but we recommend going to the experts. Click here to find out why.